- Home
- About KEDA
- Corporate Culture
-
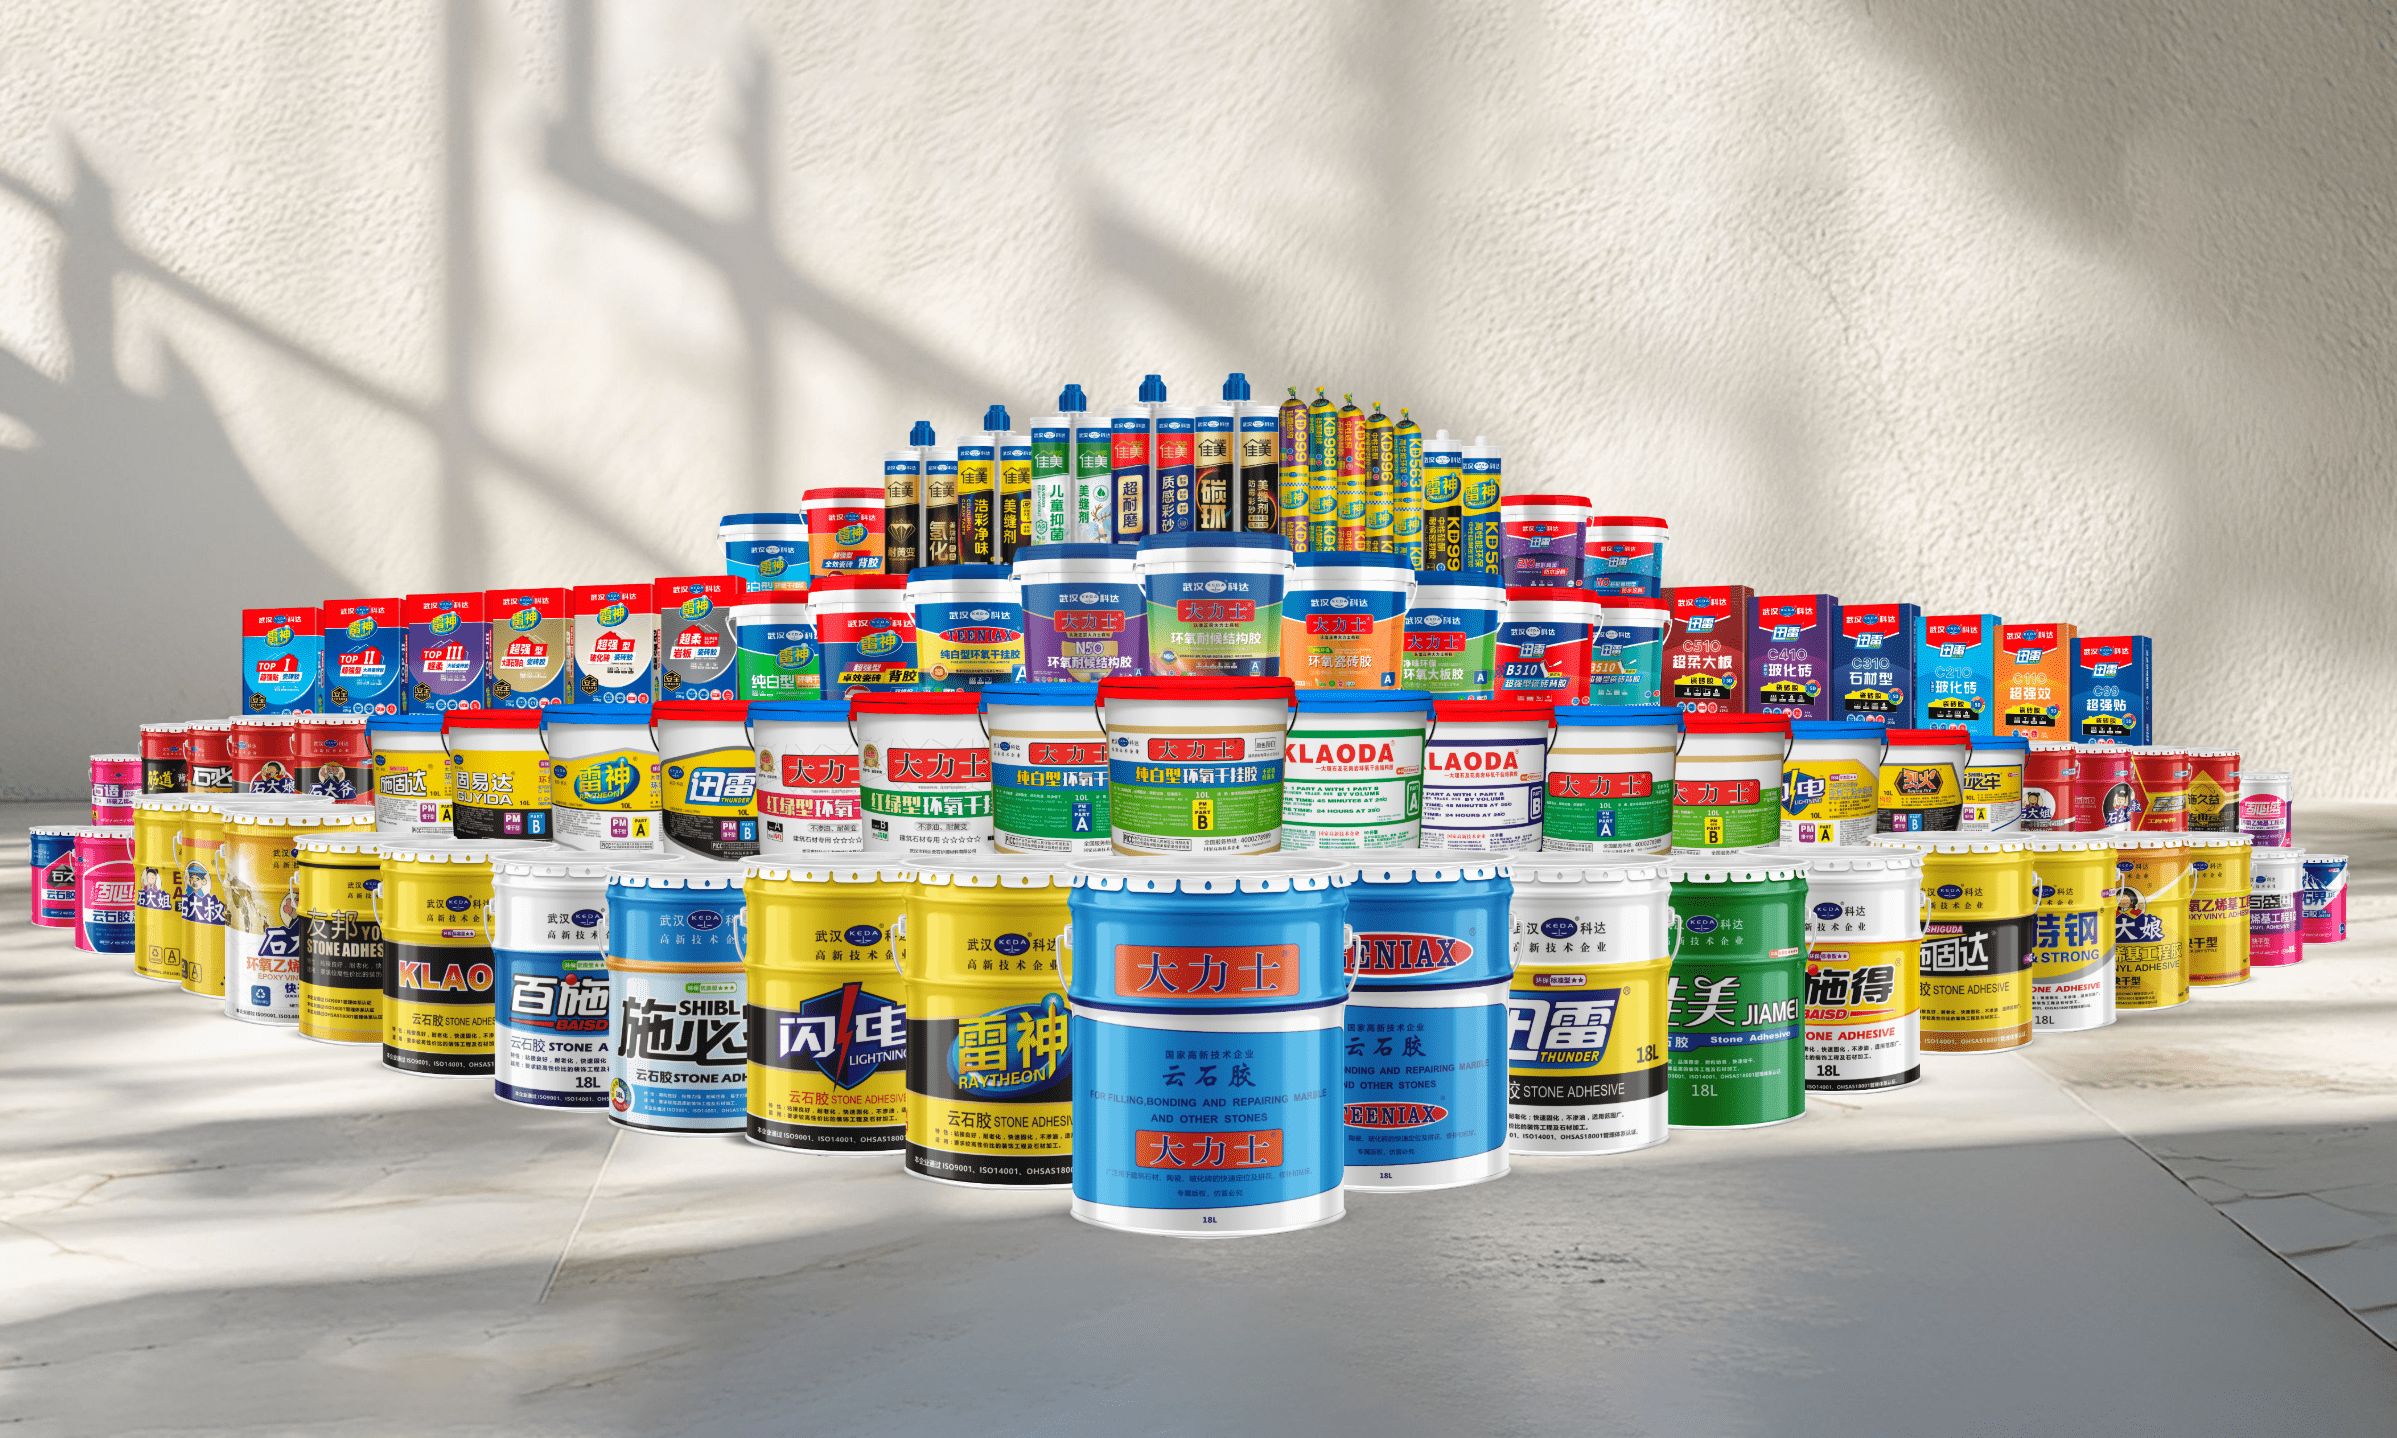
Products
Master the core bonding technology
Professionalism: deep plowing bonding technology to achieve the same life of adhesives and buildings.
altruism: the global strict selection of raw materials and the construction of national formula library, the source to ensure quality.
Long-term doctrine: one-time bonding, life-long peace of mind, with technical ingenuity to protect the life of the building, enabling sustainable development. - Cases
- Shibilao Dry Adhesive
- Cooperation
- Careers

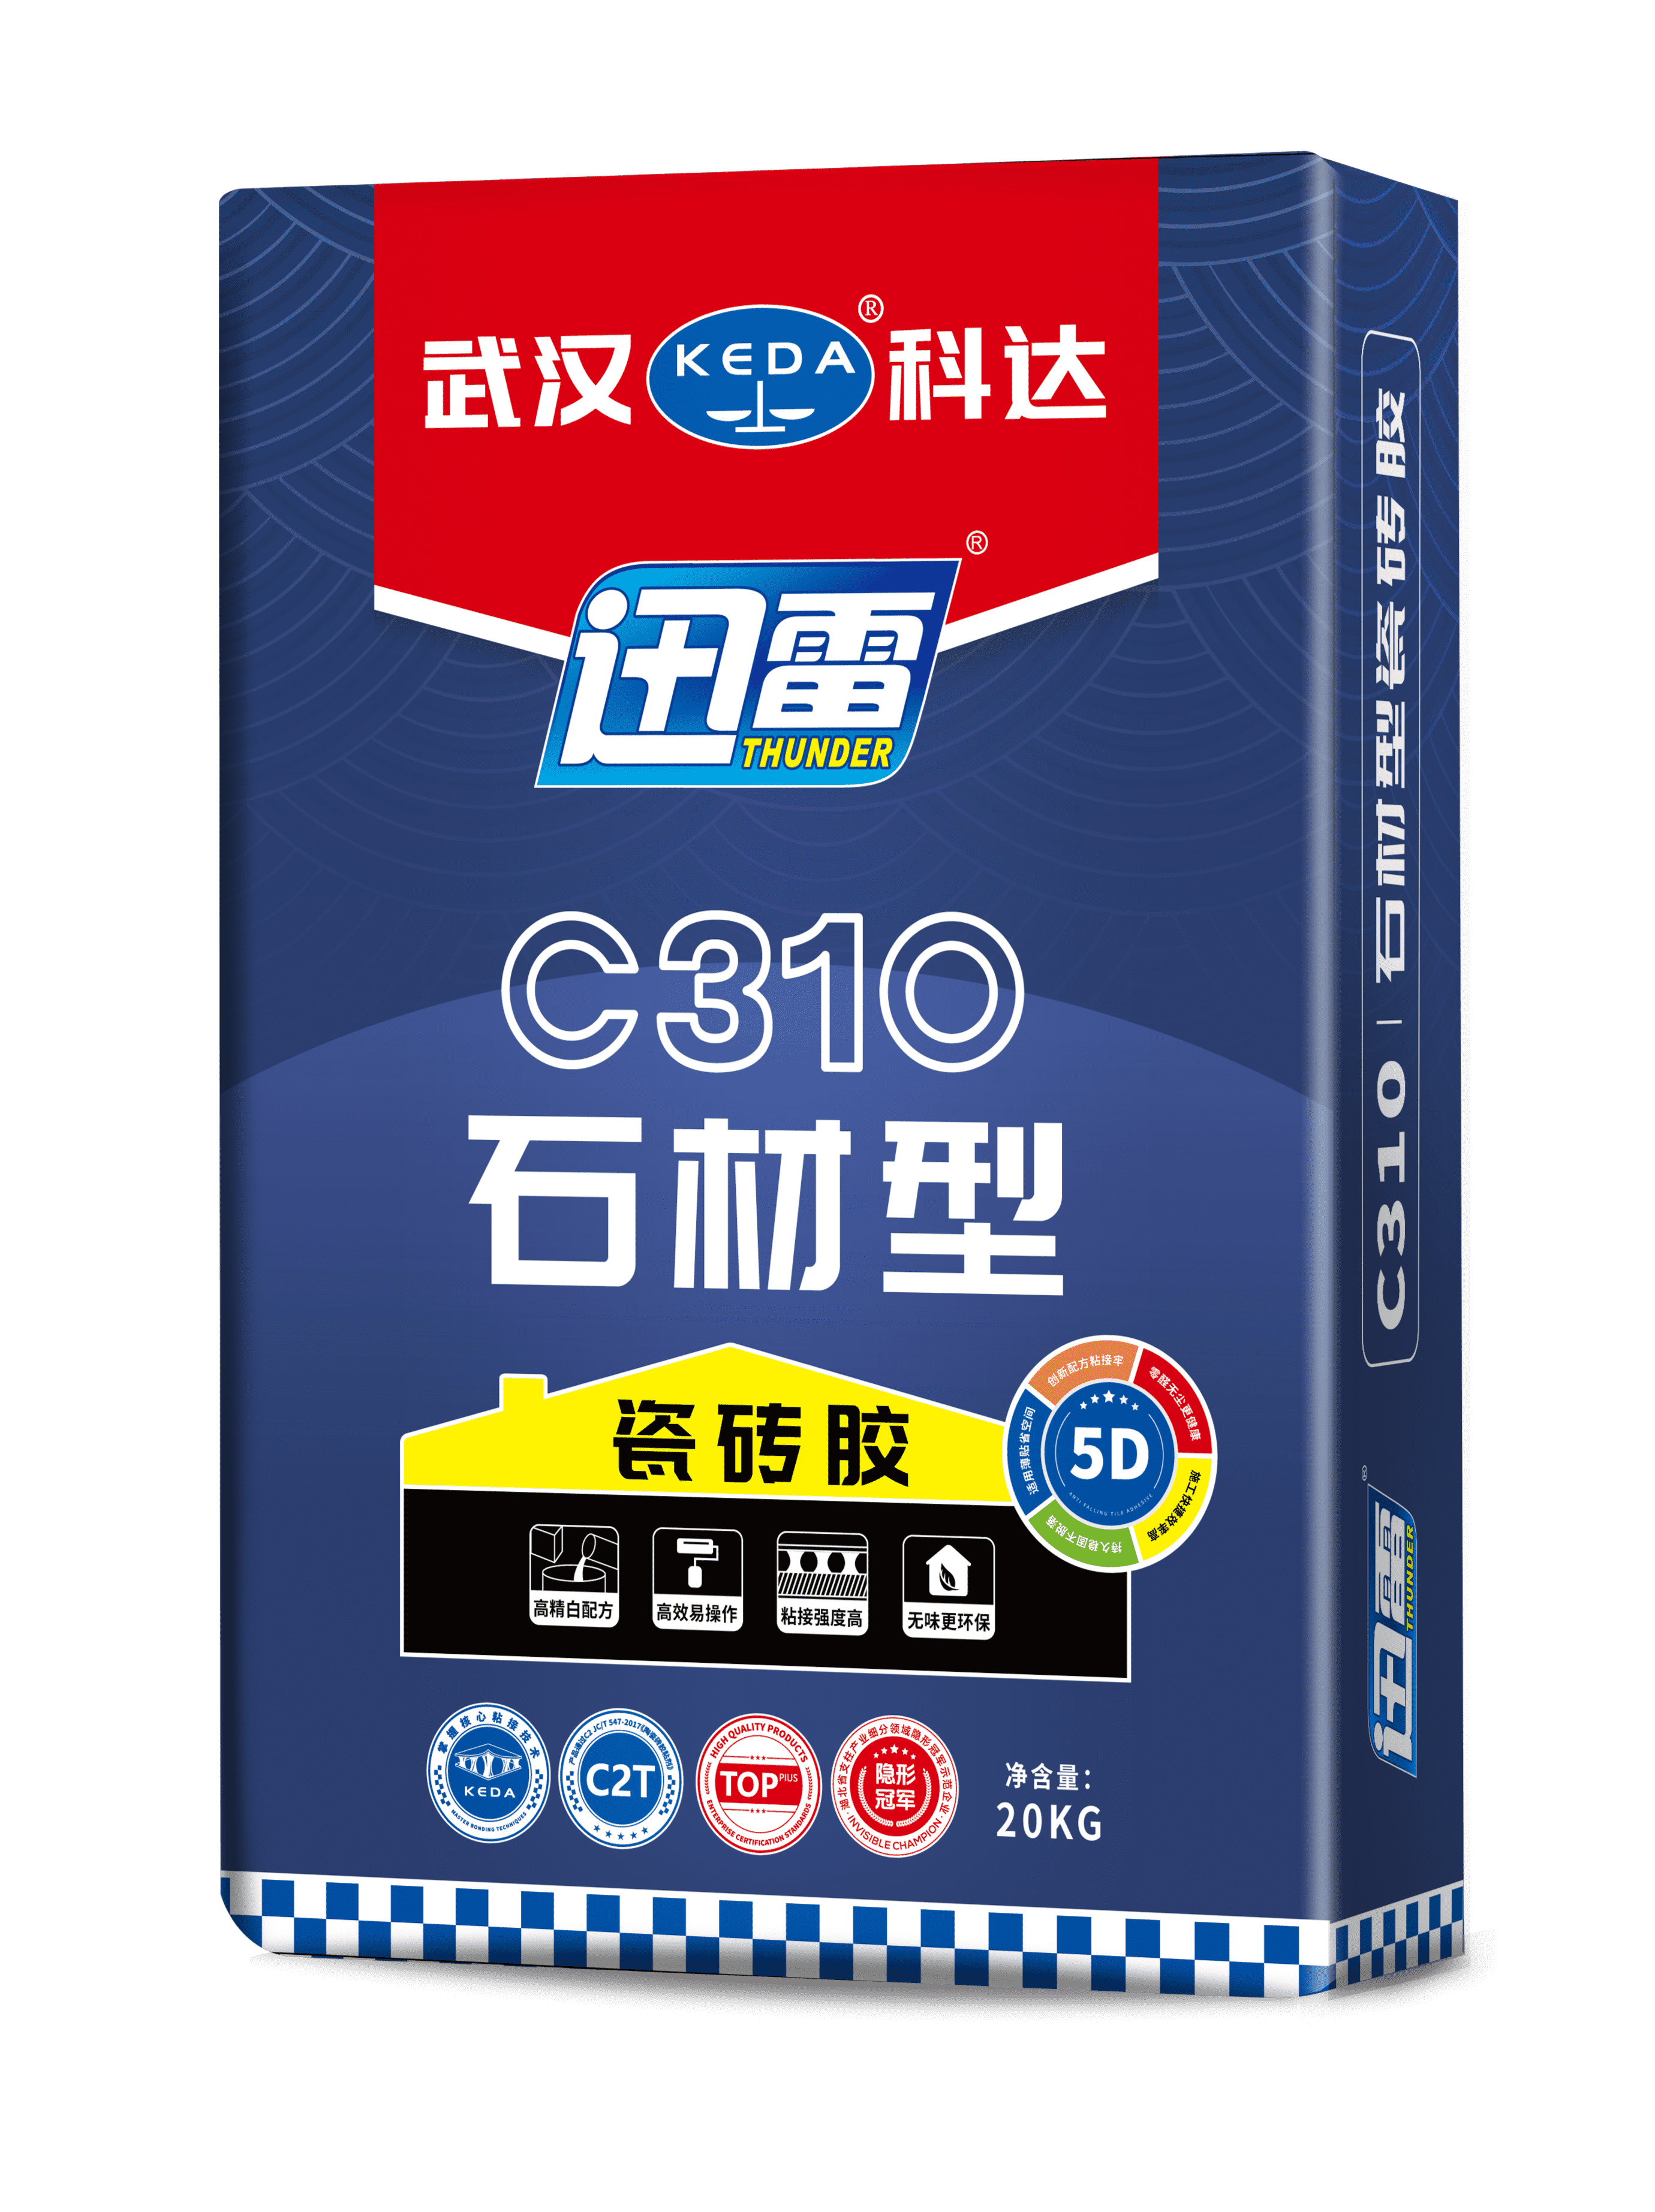

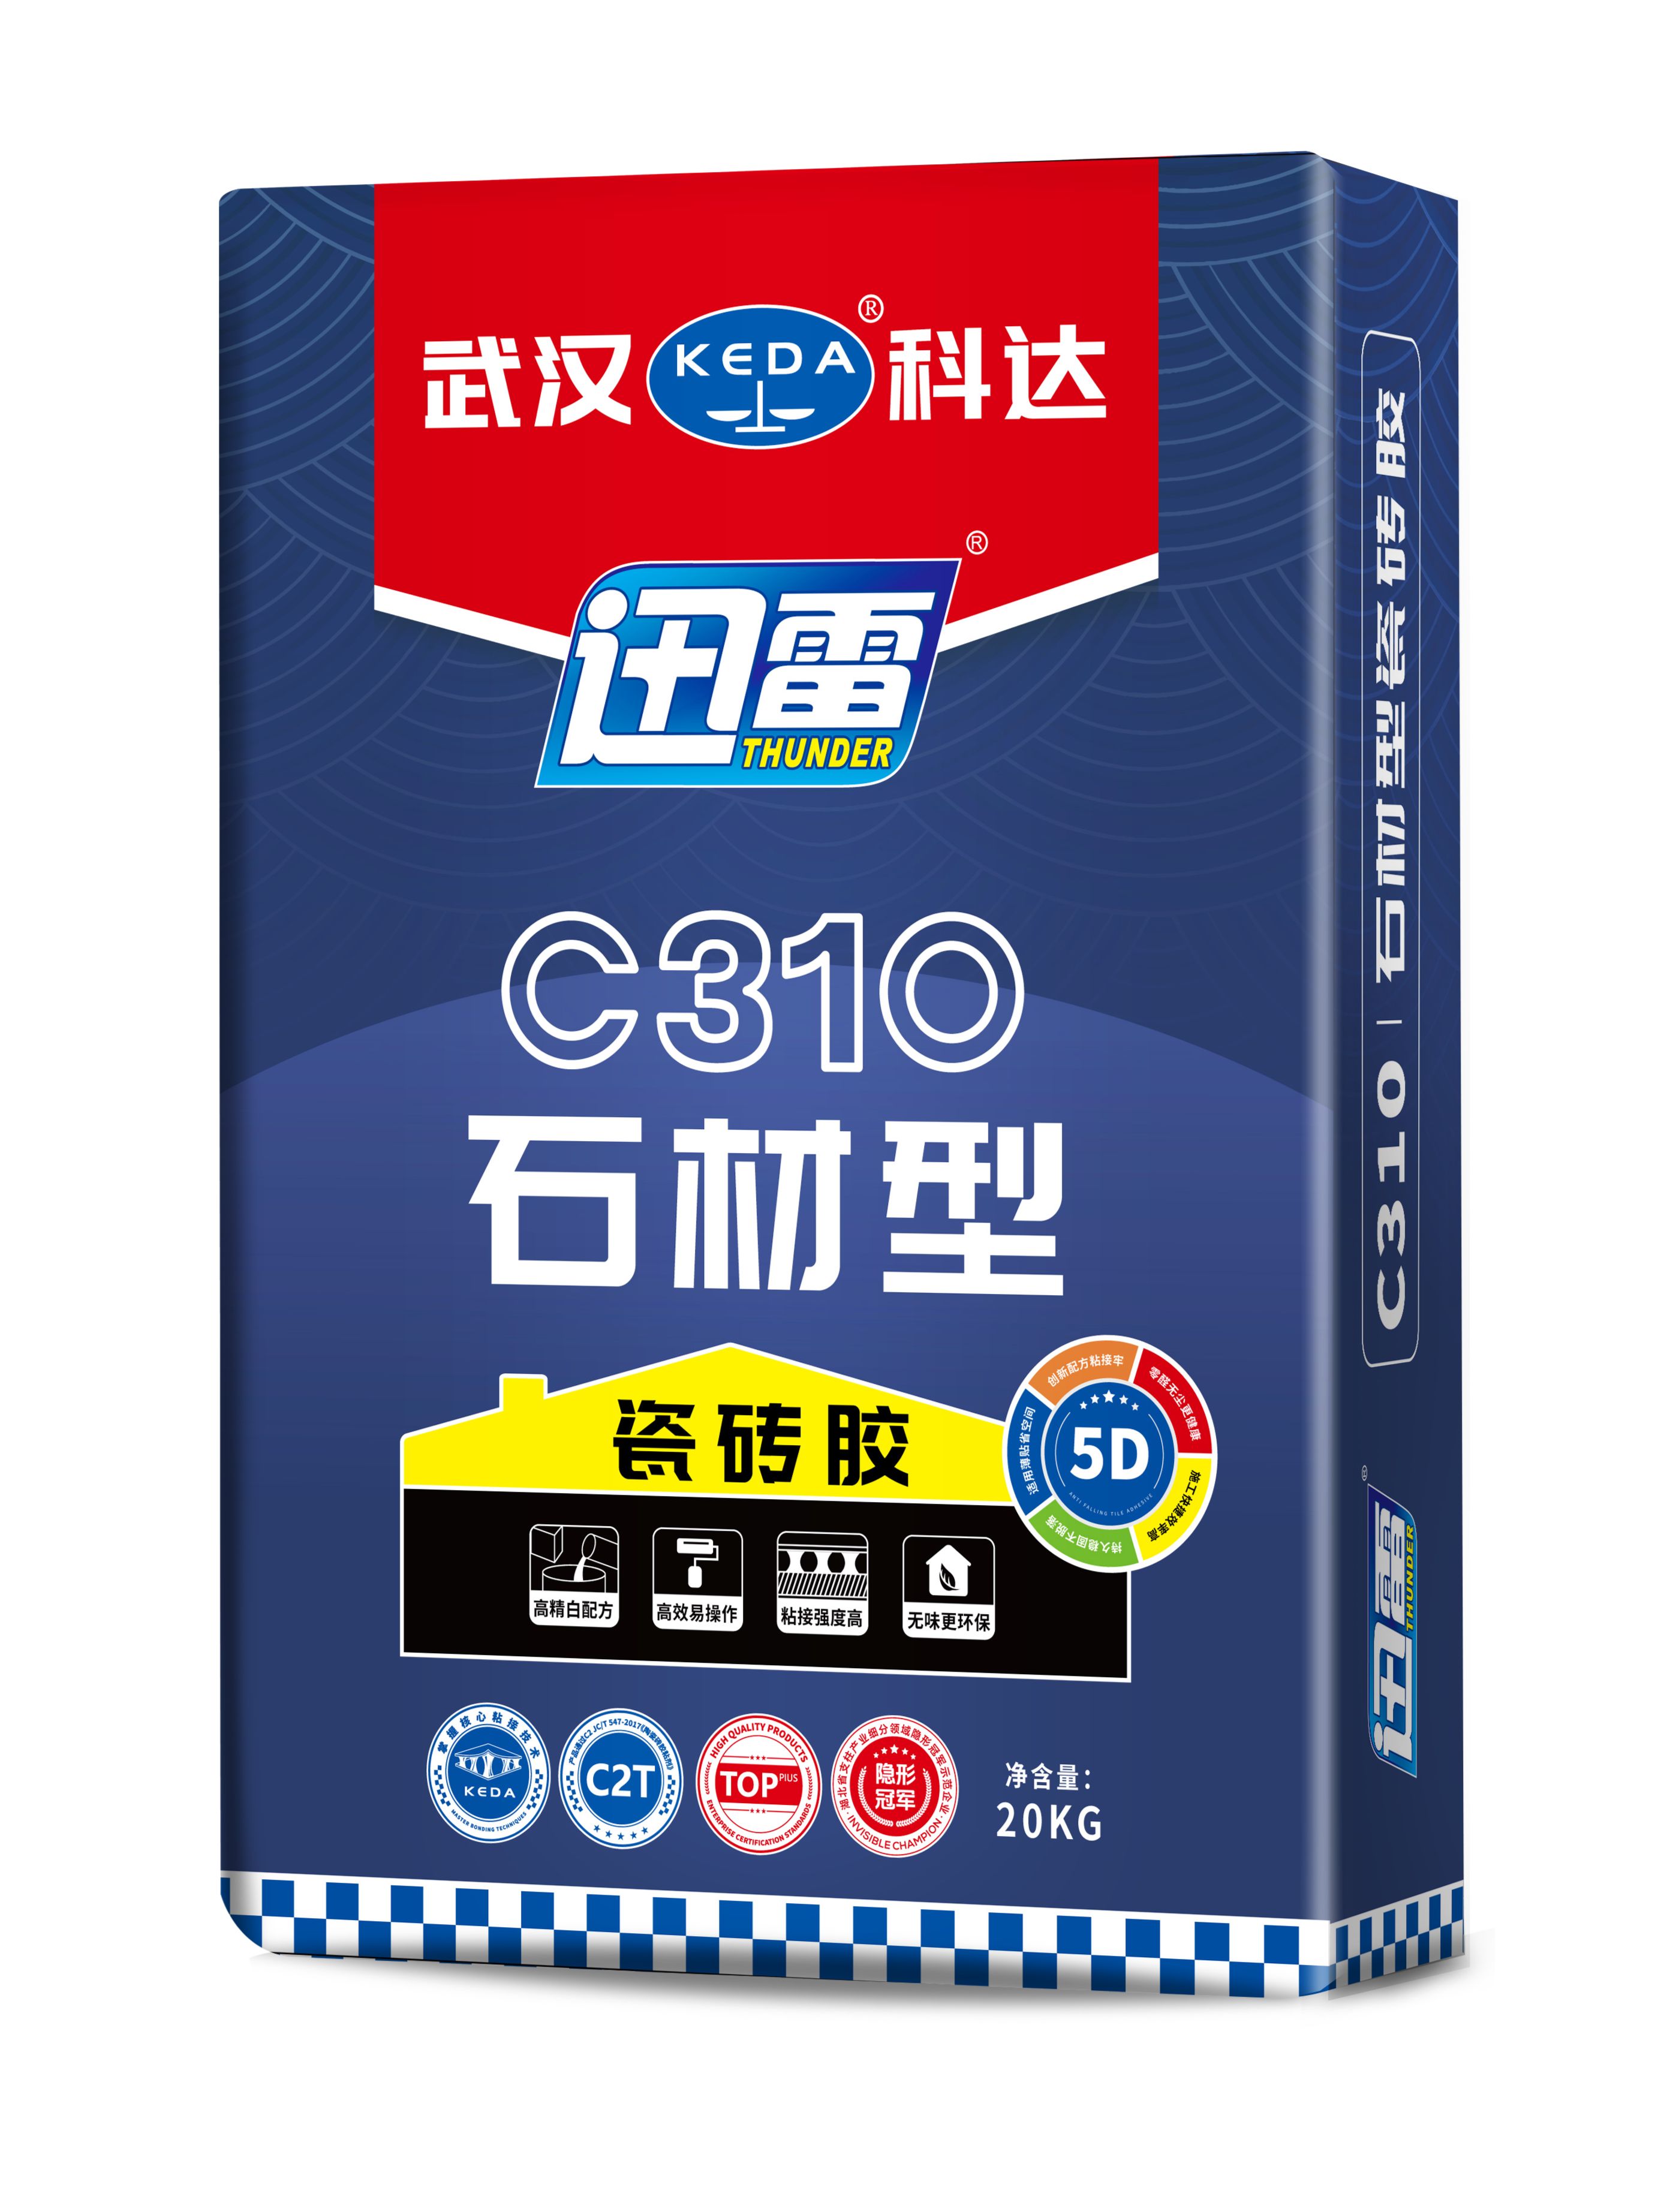
Xunlei C310 stone type ceramic tile adhesive
-

Main features
-
- Suitable for indoor paving water absorption of more than 0.5% ceramic tiles, tiles, polished tiles, antique tiles
- Anti-sliding, high bonding strength, no hollow drum, convenient construction
-

Product Certification
-
-


-

Color
- White
-

Product Specifications
-
- Bagged: 20kg per Bag
-

Executive standards
-
- JC/T 547-2017 Ceramic Tile Adhesive C1T
Product overview
Xunlei C310 stone type ceramic tile adhesive is a white high-strength cement-based adhesive carefully formulated from high quality white cement, precision graded aggregate, high-performance environmentally friendly odorless polymer and imported additives. It is suitable for indoor paving of natural and artificial stone and glass mosaic. It has the characteristics of anti-sliding, strong adhesion, high whiteness and non-color, not easy hollowing, etc.
Product characteristics
|
Characteristic one
|
High-precision white formula
|
Characteristic II
|
Efficient and easy to operate
|
|
Characteristic three
|
High bond strength
|
Characteristic four
|
Taste less more environmentally friendly
|
Scope of application
can be directly applied to concrete, cement plaster, concrete slab, plastering brick surface and cement-based waterproof coating
Single stone size ≤ 800*800mm
Construction operation
1. [Water ratio]
the mixing ratio of water is powder: clear water = 20kg:4.2-5.4kg
2. [Mixing method]
pour an appropriate proportion of water into the mixing bucket, and then pour the powder into the water and use an electric mixer to stir evenly, that is, the mixing method of adding water first and then pouring the material. Note: If the mixing method of pouring the material first and then adding water is adopted, it is easy to cause the dry powder of the adhesive to agglomerate and cannot be stirred, which not only affects the subsequent construction, but also causes the material performance to decline.
3. [Stirring time]
Use a mixer to fully stir until there is no raw powder, place for 3-5 minutes, and then stir for 15-30 seconds to use, mixing good tile glue should be used up within 2 hours
4. [recommend construction]
recommend the use of tooth-shaped scraper thin paste construction, the use of combination of construction technology.
5. [Construction method]
Use a spatula to apply the tile glue to a stable base layer, then apply a thick layer of tile glue, and use a suitable tooth-shaped spatula to comb the tile glue layer, each time the coating area is ≤ 1m2, and then knead the tiles with the thin batch of tile glue on the back to the undried and combed tile glue layer. Before tiling, check whether the adhesive layer has been dried on the surface. If it has not been dried on the surface, tiling can be applied again. The depth of the spatula teeth should consider the flatness of the base layer and the degree of convexity and concavity on the back of the tile.
6. [Special attention]
if the trench on the back of the ceramic tile is deep or the size of the ceramic tile is ≥ 300*300mm, the construction method should be adopted, I .e. the construction method of applying ceramic tile glue on the base layer of the tile and combing, applying ceramic tile glue on the back of the ceramic tile, then sticking the ceramic tile on the combed ceramic tile glue layer, and properly kneading and pressing. In order to ensure the construction quality, the construction personnel should open the vitrified tiles that have been pasted from time to time to ensure that the base surface on the back of the tiles is fully covered with tile glue.
7. [Reference Dosage]
General reference dosage is 1.5 kg/m 2/mm , depending on the flatness of the base surface and the size of the tile.
Precautions
1. The product should be used with water in accordance with the reference ratio. It is strictly prohibited to add any other materials such as cement, sand, fine powder, or lightweight materials
2. The construction temperature should be between 5 and 35℃. Construction should be avoided in rainy, high-temperature, strong wind, severe cold and frost conditions
3. The ratio of water to powder can be appropriately adjusted due to differences in the base layer, weather, construction conditions, etc
4. Use up within 2 hours after adding water and stirring
5. It is strictly forbidden to mix damp and clumped dry powder of tile adhesive with water before use
When applying tile adhesive, the Angle between the scraper and the inner side of the base layer should be approximately 60 degrees
After the tiling is completed, the next step of grouting can only be carried out after the tile adhesive has completely solidified and hardened
8. When tiling the walls, pay attention to taking proper temporary fixing measures
9. When the height of the artificial stone to be laid exceeds 3 meters, the area of a single piece exceeds 1 square meter, or the deformation is medium to high, it is suitable to use mechanical fixation to assist in laying
Transportation and storage
-
 Storage conditionsAvoid rain and bumping during transportation to avoid damage to the packaging
 -
 Transportation requirementsIt should be stored in a cool and dry warehouse to prevent moisture, and it is strictly prohibited to contact with water.
 -
 Warranty PeriodUnder normal transportation and storage conditions, the product quality is valid within 12 months.
FAQ
-
Q
When mixing the tile adhesive, there are powder lumps or it is too thin
-
A
Water was not added in proportion or the stirring time was insufficient.
Solution: 1. Mix strictly in accordance with the product instructions (usually the water-cement ratio is about 1:4);
2. Use an electric mixer to stir until there are no lumps. Let it stand for 5 minutes and then stir again.
-
Q
After the tile adhesive was applied, the adhesive slurry dried and solidified too quickly, and the available working time was insufficient
-
A
High-temperature, dry environment or excessive mixing of the adhesive at one time.
Solution: Prepare in small amounts multiple times (use up within 2 hours);
2. Avoid construction in direct sunlight or strong wind conditions. The construction temperature should be between 5 and 35 degrees Celsius.
-
Q
After completion, the tiles made a hollow sound when tapped and even fell off
-
A
1. The base surface is not firm, has oil stains or dust;
2. The adhesive was not evenly applied (without using a toothed scraper), and the construction was carried out by the back adhesive method.
3. The thickness of the tile adhesive applied exceeded 1.5cm.
Solution: Before construction, ensure that the base surface has sufficient strength, and then clean the base surface (an interface agent can be used to enhance adhesion).
2. Adopt the "double-sided gluing method" (assembly method for construction);
3. Gently tap the tiles with a rubber hammer to ensure that the full slurry rate is ≥95%.
4. The construction thickness should be controlled under 1.5cm and must not exceed 2cm.
-
Q
Cracks appeared in the adhesive layer after drying
-
A
The adhesive paste is too thick (exceeding 6mm) or the base surface absorbs water too quickly.
Solution: When applying thick tiles, switch to a combination of tile adhesive and tile back adhesive. Moisten the base surface in advance (without standing water).
-
Q
Tile adhesive cannot stick tiles (especially large-sized tiles or vitrified tiles).
-
A
1. Selecting the wrong type of tile adhesive (such as using C1 adhesive to stick large tiles);
2. Large-sized low water absorption bricks were not used in conjunction with back adhesive.
Solution: For large bricks and low water absorption rate bricks, select C2 grade high-strength tile adhesive and use it in combination with back adhesive.
-
Q
The tiles are not flat after being laid
-
A
No leveling device was used or the construction techniques were inconsistent.
Solution: Use cross-shaped clips to control the gaps when laying. For large bricks, it is recommended to use a laser level to assist in leveling.
-
Q
The tile adhesive overflows from the gaps, affecting the grouting
-
A
The glue slurry is too thin or the jointing is done too early.
Solution:
Clean up the spilled glue slurry in time (before curing). The joint filling needs to be done after the adhesive has completely cured (usually 24 hours later).
-
Q
Alkali efflorescence or glue stains appear on the surface of the tiles
-
A
The glue slurry was not cleaned up in time.
Solution:
Immediately wipe the surface of the tiles with a damp sponge after construction.
-
Q
The tiles in the corner cracked later
-
A
There is no gap left for thermal expansion and contraction or the flexibility of the adhesive is insufficient.
Solution: Leave a 2-3mm expansion joint and use flexible grout. It is recommended to apply a 45° chamfer at the positive corners.
-
Q
The tiles became loose after being used for a period of time
-
A
Deformation of the base surface (such as the lightweight wall not being reinforced) or aging of the mortar.
Solution: The lightweight wall needs to be reinforced with steel wire mesh. For damp areas, waterproof tile adhesive (such as C2TE standard) should be selected.
Preventive measures: 1. Base surface treatment: Ensure it is solid, flat, and free of oil stains. Base surfaces with high water absorption rates need to be moistened. 2. Choose the right material: Select the grade of tile adhesive based on the type of tile (size, water absorption rate) and the environment (indoor and outdoor, damp areas). 3. Standardized construction The toothed scraper is used to apply the adhesive, with the thickness of the adhesive slurry being 3 to 6mm. Large bricks need to be supported and fixed to prevent sliding. 4. Maintenance: Avoid stepping on or getting wet within 24 hours after construction.
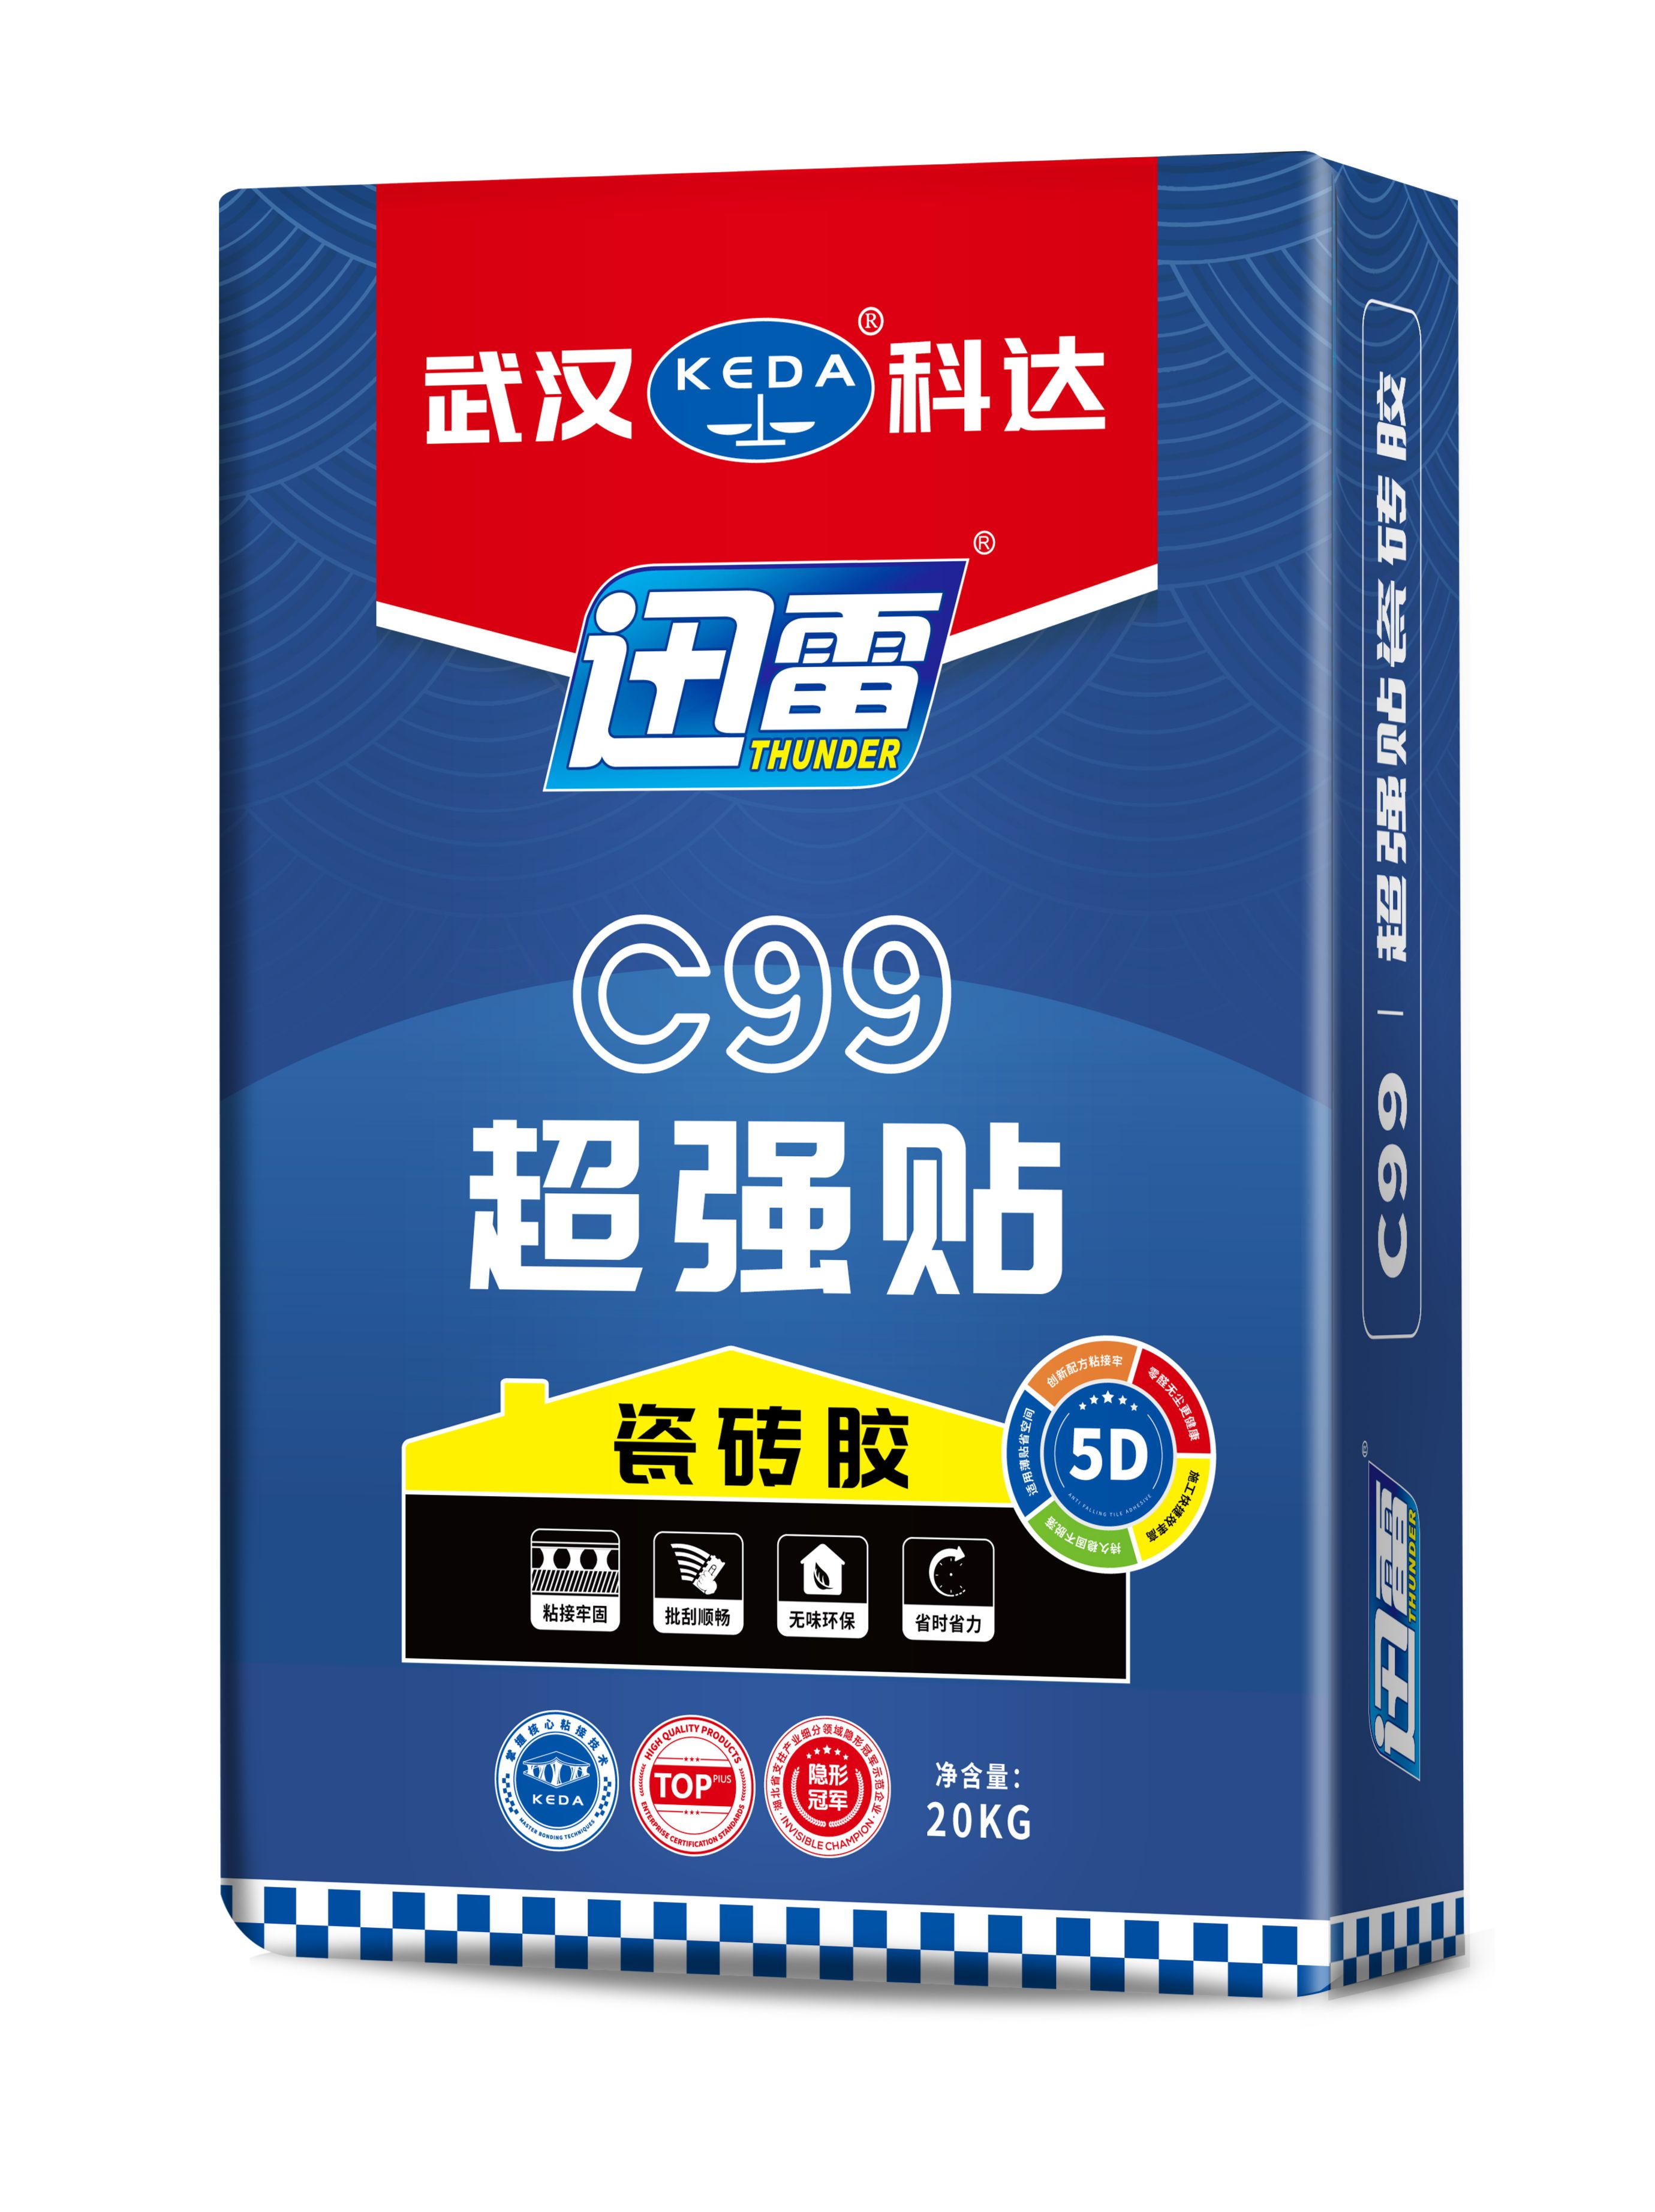
Related Products


WeChat Channels


TikTok